Thời điểm hiện tại, hầu hết mọi người đều biết đến ChatGPT và các AI Chatbot khác trên mạng. Nếu bạn chưa biết, Chatbot là một loại phần mềm hoạt động như một trợ lý ảo. Chúng có khả năng hiểu thông tin người dùng cung cấp và đưa ra phản hồi phù hợp nhất cho người dùng.
Mục lục bài viết
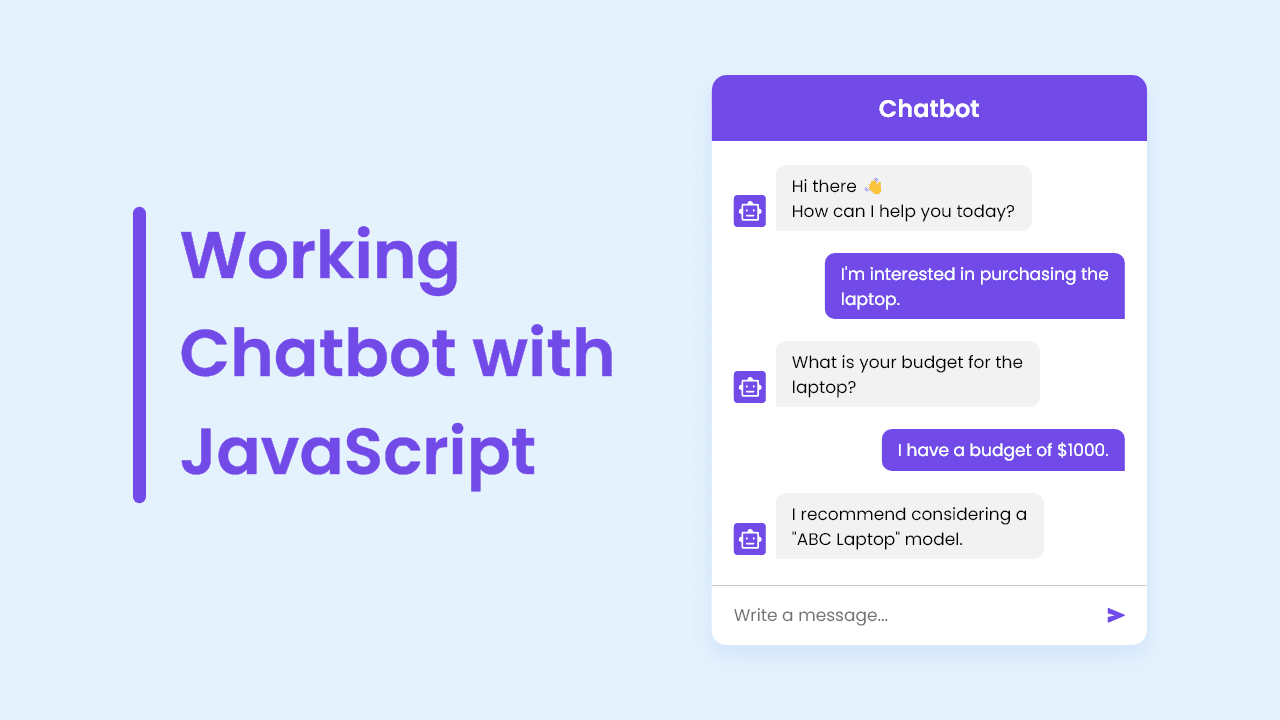
Thêm Chatbot vào website hoặc trang blog có thể làm tăng sự hứng thú của người dùng đối với trang của bạn. Vì vậy, trong bài viết này, mình sẽ hướng dẫn cách thêm một Chatbot sử dụng API từ OpenAI cùng với HTML, CSS và JavaScript vào website hoặc blog của bạn.
Với Chatbot này, người dùng có thể đặt câu hỏi và nhận được phản hồi ngay lập tức. Chatbot có thể được sử dụng trên nhiều thiết bị khác nhau. Hãy nhớ rằng để tạo ra phản hồi cho truy vấn của người dùng, bạn cần phải cấu hình Chatbot một cách chính xác.
Các bước thêm GPT Chatbot sử dụng HTML, CSS và JavaScript
</body> trong mã HTML của bạn và thêm đoạn mã HTML sau ngay phía trên thẻ </body>:<button class="chatbot-toggler">
<span class="material-symbols-rounded"><i class="fas fa-comment-alt"></i></span>
<span class="material-symbols-outlined"><i class="fas fa-times"></i></span>
</button>
<div class="chatbot">
<header>
<h2>Chatbot</h2>
<span class="close-btn material-symbols-outlined"><i class="fas fa-times"></i></span>
</header>
<ul class="chatbox">
<li class="chat incoming">
<span class="material-symbols-outlined"><i class="fas fa-robot"></i></span>
<p>Hi there 👋<br />How can I help you today?</p>
</li>
</ul>
<div class="chat-input">
<textarea placeholder="Enter a message..." required="required" spellcheck="false"></textarea>
<span class="material-symbols-rounded" id="send-btn"><i class="fas fa-share"></i></span>
</div>
</div></body>:<script>/*<![CDATA[*/
const chatbotToggler = document.querySelector(".chatbot-toggler");
const closeBtn = document.querySelector(".close-btn");
const chatbox = document.querySelector(".chatbox");
const chatInput = document.querySelector(".chat-input textarea");
const sendChatBtn = document.querySelector(".chat-input span");
let userMessage = null; // Variable to store user's message
const API_KEY = ""; // Paste your API key here
const inputInitHeight = chatInput.scrollHeight;
const createChatLi = (message, className) => {
// Create a chat <li> element with passed message and className
const chatLi = document.createElement("li");
chatLi.classList.add("chat", `${className}`);
let chatContent = className === "outgoing" ? `<p></p>` : `<span class="material-symbols-outlined"><i class="fas fa-robot"></i></span><p></p>`;
chatLi.innerHTML = chatContent;
chatLi.querySelector("p").textContent = message;
return chatLi; // return chat <li> element
}
const generateResponse = (chatElement) => {
const API_URL = "https://api.openai.com/v1/chat/completions";
const messageElement = chatElement.querySelector("p");
// Define the properties and message for the API request
const requestOptions = {
method: "POST",
headers: {
"Content-Type": "application/json",
"Authorization": `Bearer ${API_KEY}`
},
body: JSON.stringify({
model: "gpt-3.5-turbo",
messages: [{role: "user", content: userMessage}],
})
}
// Send POST request to API, get response and set the reponse as paragraph text
fetch(API_URL, requestOptions).then(res => res.json()).then(data => {
messageElement.textContent = data.choices[0].message.content.trim();
}).catch(() => {
messageElement.classList.add("error");
messageElement.textContent = "Oops! Something went wrong. Please try again.";
}).finally(() => chatbox.scrollTo(0, chatbox.scrollHeight));
}
const handleChat = () => {
userMessage = chatInput.value.trim(); // Get user entered message and remove extra whitespace
if(!userMessage) return;
// Clear the input textarea and set its height to default
chatInput.value = "";
chatInput.style.height = `${inputInitHeight}px`;
// Append the user's message to the chatbox
chatbox.appendChild(createChatLi(userMessage, "outgoing"));
chatbox.scrollTo(0, chatbox.scrollHeight);
setTimeout(() => {
// Display "Thinking..." message while waiting for the response
const incomingChatLi = createChatLi("Thinking...", "incoming");
chatbox.appendChild(incomingChatLi);
chatbox.scrollTo(0, chatbox.scrollHeight);
generateResponse(incomingChatLi);
}, 600);
}
chatInput.addEventListener("input", () => {
// Adjust the height of the input textarea based on its content
chatInput.style.height = `${inputInitHeight}px`;
chatInput.style.height = `${chatInput.scrollHeight}px`;
});
chatInput.addEventListener("keydown", (e) => {
// If Enter key is pressed without Shift key and the window
// width is greater than 800px, handle the chat
if(e.key === "Enter" && !e.shiftKey && window.innerWidth > 800) {
e.preventDefault();
handleChat();
}
});
sendChatBtn.addEventListener("click", handleChat);
closeBtn.addEventListener("click", () => document.body.classList.remove("show-chatbot"));
chatbotToggler.addEventListener("click", () => document.body.classList.toggle("show-chatbot"));
/*]]>*/</script></head> và thêm đoạn CSS sau phía trên thẻ </head>:<style>/*<![CDATA[*/
.chatbot-toggler{position:fixed;font-size:25px;bottom:30px;left:35px;outline:none;border:none;height:50px;width:50px;display:flex;cursor:pointer;align-items:center;justify-content:center;z-index:2;border-radius:50%;background:#e0ac33;transition:all .2s ease}
body.show-chatbot .chatbot-toggler{transform:rotate(90deg)}
.chatbot-toggler span{color:#fff;position:absolute}
.chatbot-toggler span:last-child,body.show-chatbot .chatbot-toggler span:first-child{opacity:0;display:flex}
body.show-chatbot .chatbot-toggler span:last-child{opacity:1}
.chatbot{position:fixed;left:35px;bottom:90px;width:350px;background:#fff;z-index:999;border-radius:15px;overflow:hidden;opacity:0;pointer-events:none;transform:scale(0.5);transform-origin:bottom right;box-shadow:0 0 128px 0 rgba(0,0,0,0.1),0 32px 64px -48px rgba(0,0,0,0.5);transition:all .1s ease}
body.show-chatbot .chatbot{opacity:1;pointer-events:auto;transform:scale(1)}
.chatbot header{padding:10px 0;position:relative;text-align:center;color:#fff;background:#e0ac33;box-shadow:0 2px 10px rgba(0,0,0,0.1)}
.chatbot header span{position:absolute;right:15px;top:50%;cursor:pointer;transform:translateY(-50%)}
header h2{font-size:1.4rem}
.chatbot .chatbox{overflow-y:auto;height:450px;padding:30px 20px 100px}
.chatbot :where(.chatbox,textarea)::-webkit-scrollbar{width:6px}
.chatbot :where(.chatbox,textarea)::-webkit-scrollbar-track{background:#fff;border-radius:25px}
.chatbot :where(.chatbox,textarea)::-webkit-scrollbar-thumb{background:#ccc;border-radius:25px}
.chatbox .chat{display:flex;list-style:none}
.chatbox .outgoing{margin:20px 0;justify-content:flex-end}
.chatbox .incoming span{width:32px;height:32px;color:#fff;cursor:default;text-align:center;line-height:32px;align-self:flex-end;background:#e0ac33;border-radius:4px;margin:0 10px 7px 0}
.chatbox .chat p{white-space:pre-wrap;padding:12px 16px;border-radius:10px 10px 0 10px;max-width:75%;color:#fff;font-size:.95rem;background:#e0ac33}
.chatbox .incoming p{border-radius:10px 10px 10px 0}
.chatbox .chat p.error{color:#721c24;background:#f8d7da}
.chatbox .incoming p{color:#000;background:#f2f2f2}
.chatbot .chat-input{display:flex;gap:5px;position:absolute;bottom:0;width:100%;background:#fff;padding:3px 20px;border-top:1px solid #ddd}
.chat-input textarea{height:55px;width:100%;border:none;outline:none;resize:none;max-height:180px;padding:15px 15px 15px 0;font-size:.95rem}
.chat-input span{align-self:flex-end;color:#e0ac33;cursor:pointer;height:55px;display:flex;align-items:center;visibility:hidden;font-size:1.35rem}
.chat-input textarea:valid ~ span{visibility:visible}
@media (max-width: 490px) {
.chatbot-toggler{right:20px;bottom:20px}
.chatbot{left:0;bottom:0;height:100%;border-radius:0;width:100%}
.chatbot .chatbox{height:90%;padding:25px 15px 100px}
.chatbot .chat-input{padding:5px 15px}
.chatbot header span{display:block}
}
/*]]>*/</style>Khi đăng ký tài khoản OpenAI, bạn sẽ nhận được $5 miễn phí để sử dụng API. Nếu tài khoản của bạn đã tồn tại hơn 3 tháng hoặc đã sử dụng hết $5 miễn phí, bạn cần tạo một tài khoản mới để nhận $5 miễn phí hoặc nạp thêm tiền để tiếp tục sử dụng API. Bạn có thể kiểm tra tài khoản của mình tại link trên.
Kết luận
API_KEY trong bước 2.
Facebook: Dịch Vụ Mạng Xã Hội Đà Nẵng
Zalo: Dịch Vụ Đà Nẵng
Phone: 0333.110304
Gmail: mxhdn.xyz@gmail.com
Thanh toán: Ngân hàng, thẻ cào siêu rẻ, Momo, ViettelPay, card + 35% phí,...

